3D models
Getting the models
The CTRL ONE is made from a combination of 3D-printed and laser-cut parts. Ready-to-print models of mounts and key accessories are published on Printables and are available together in the elvinhome CTRL ONE collection.
The STEP files for every model are published in the Codeberg repository alongside the source code to generate them. STEP is a universal CAD format that imports into most modelling software, so the files can be used directly as a base to design your own mounts or accessories.
Wall mount
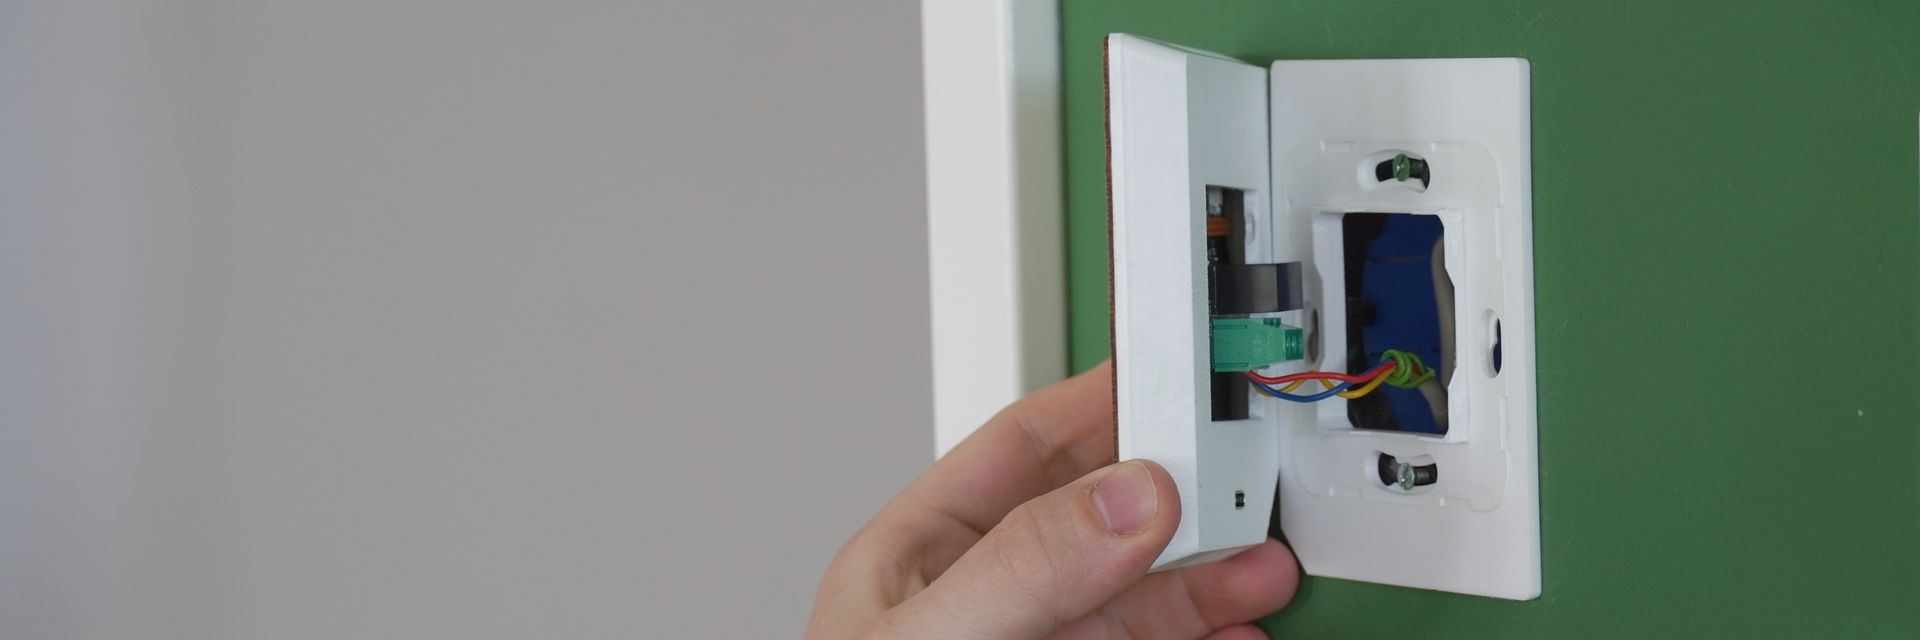
The official wall mount for the CTRL ONE. This is the mount that ships with every device; print it as a replacement, or use it as a base for a custom mounting solution. It fixes the device to a standard 60 mm European recessed mount with a passthrough hole for wiring.
View and download on Printables
Print settings
- Nozzle: 0.4 mm
- Layer height: 0.25 mm
- Walls: 3 or more
- Infill: approximately 40%
- Material: PETG or better recommended; other filaments untested
- Orientation: print with the mount pointing straight up
Avoid overtightening the mounting screws, which can crack the plastic. If a custom mount needs to be printed sideways, use the stand as a starting point instead.
Stand
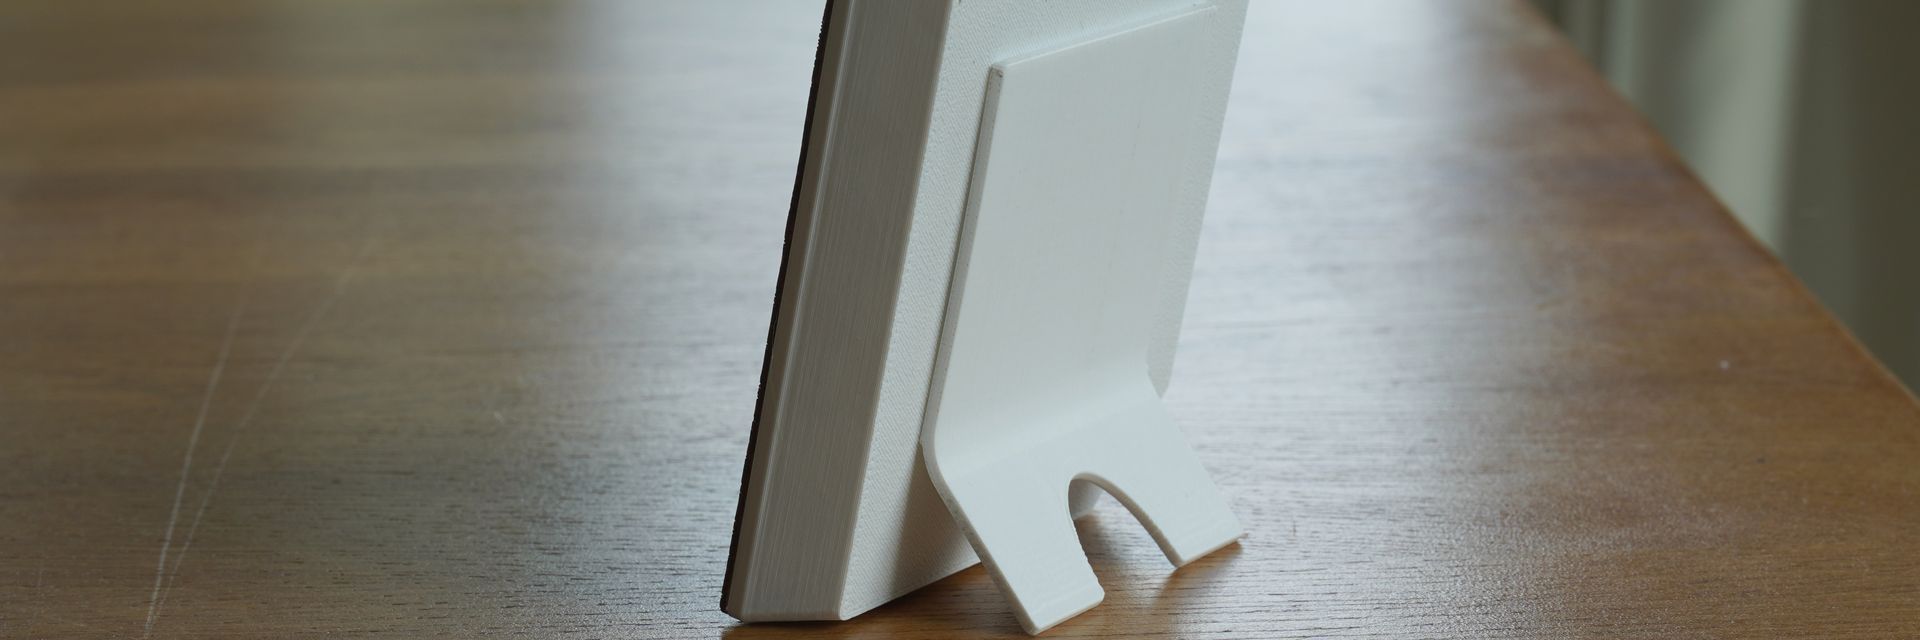
The official stand for the CTRL ONE. This is the stand that ships with every device; print it as a replacement, or use it as a base for a custom mounting solution. It holds the device at a 12-degree angle, chosen for USB-C cable clearance and desk stability. The source script can generate a stand at any angle.
View and download on Printables
Print settings
- Nozzle: 0.4 mm
- Layer height: 0.2 mm
- Infill: 0%
- Supports: enable auto tree supports for the cable-cutout overhang
- Material: PETG (as shipped); other filaments untested
- Orientation: print on its side
If a custom mount needs to be printed facing upwards, use the wall mount as a starting point instead.
Bezel
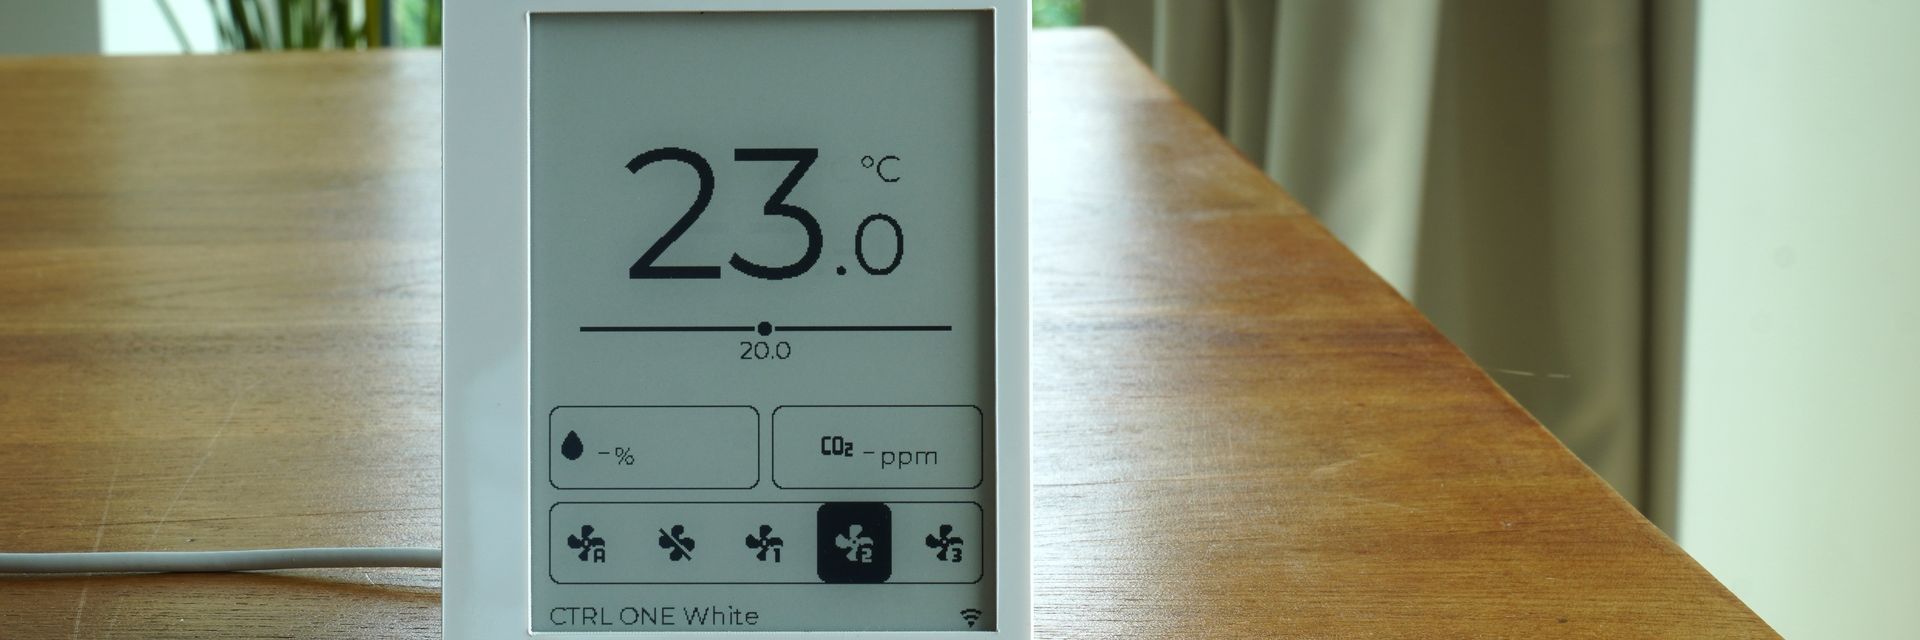
The official bezel for the front of the CTRL ONE, provided as a base for customisations. The bezel shipped with the device is laser-cut acrylic or oak attached with an adhesive layer; this model is designed for 3D printing and will not match that surface finish on a typical FDM printer, and it requires its own adhesive. The 2D vector file used to cut the original bezels is available in the repository.
View and download on Printables
Print settings
This is up to you. The model provided is made for 3D printing, but the original is laser-cut acrylic or oak and the FDM version will differ in surface finish.
This file is primarily meant as a base for those who wish to make their own custom bezel design, as it will not match the finish of the bezel that ships with the device. If you need a replacement bezel, feel free to reach out!
Advanced: generating your own models
Each part is authored as a Build123d Python script in the Codeberg repository, under models/. Running a script regenerates the STEP file (3D model) and, where applicable, an SVG profile (2D) next to the script. The models are licensed under CERN-OHL-W (see models/LICENSE.txt); the firmware configuration is GPLv3.
Script | Part | Outputs |
|---|---|---|
| Bezel (acrylic or oak) | STEP + SVG |
| Wall mount | STEP |
| Wall-mount backplate | STEP + SVG |
| Stand (portrait/landscape) | STEP |
Requirements: Python 3.12 and the Build123d library. Direct source links: bezel.py, mount.py, backplate.py, stand.py.