
Time to put myself out there and see what the internet thinks! Hi all, my name's Elvin, and I left my job at the start of this year to try something new. I've been making blog posts and videos on electronics & tech for a year or so now, and you're at the place I post them right now.
I wanted to challenge myself to see how far I could go with modern manufacturing - 3D printing, laser cutting, and bring a new ESPHome device to market. All from my workshop at home.
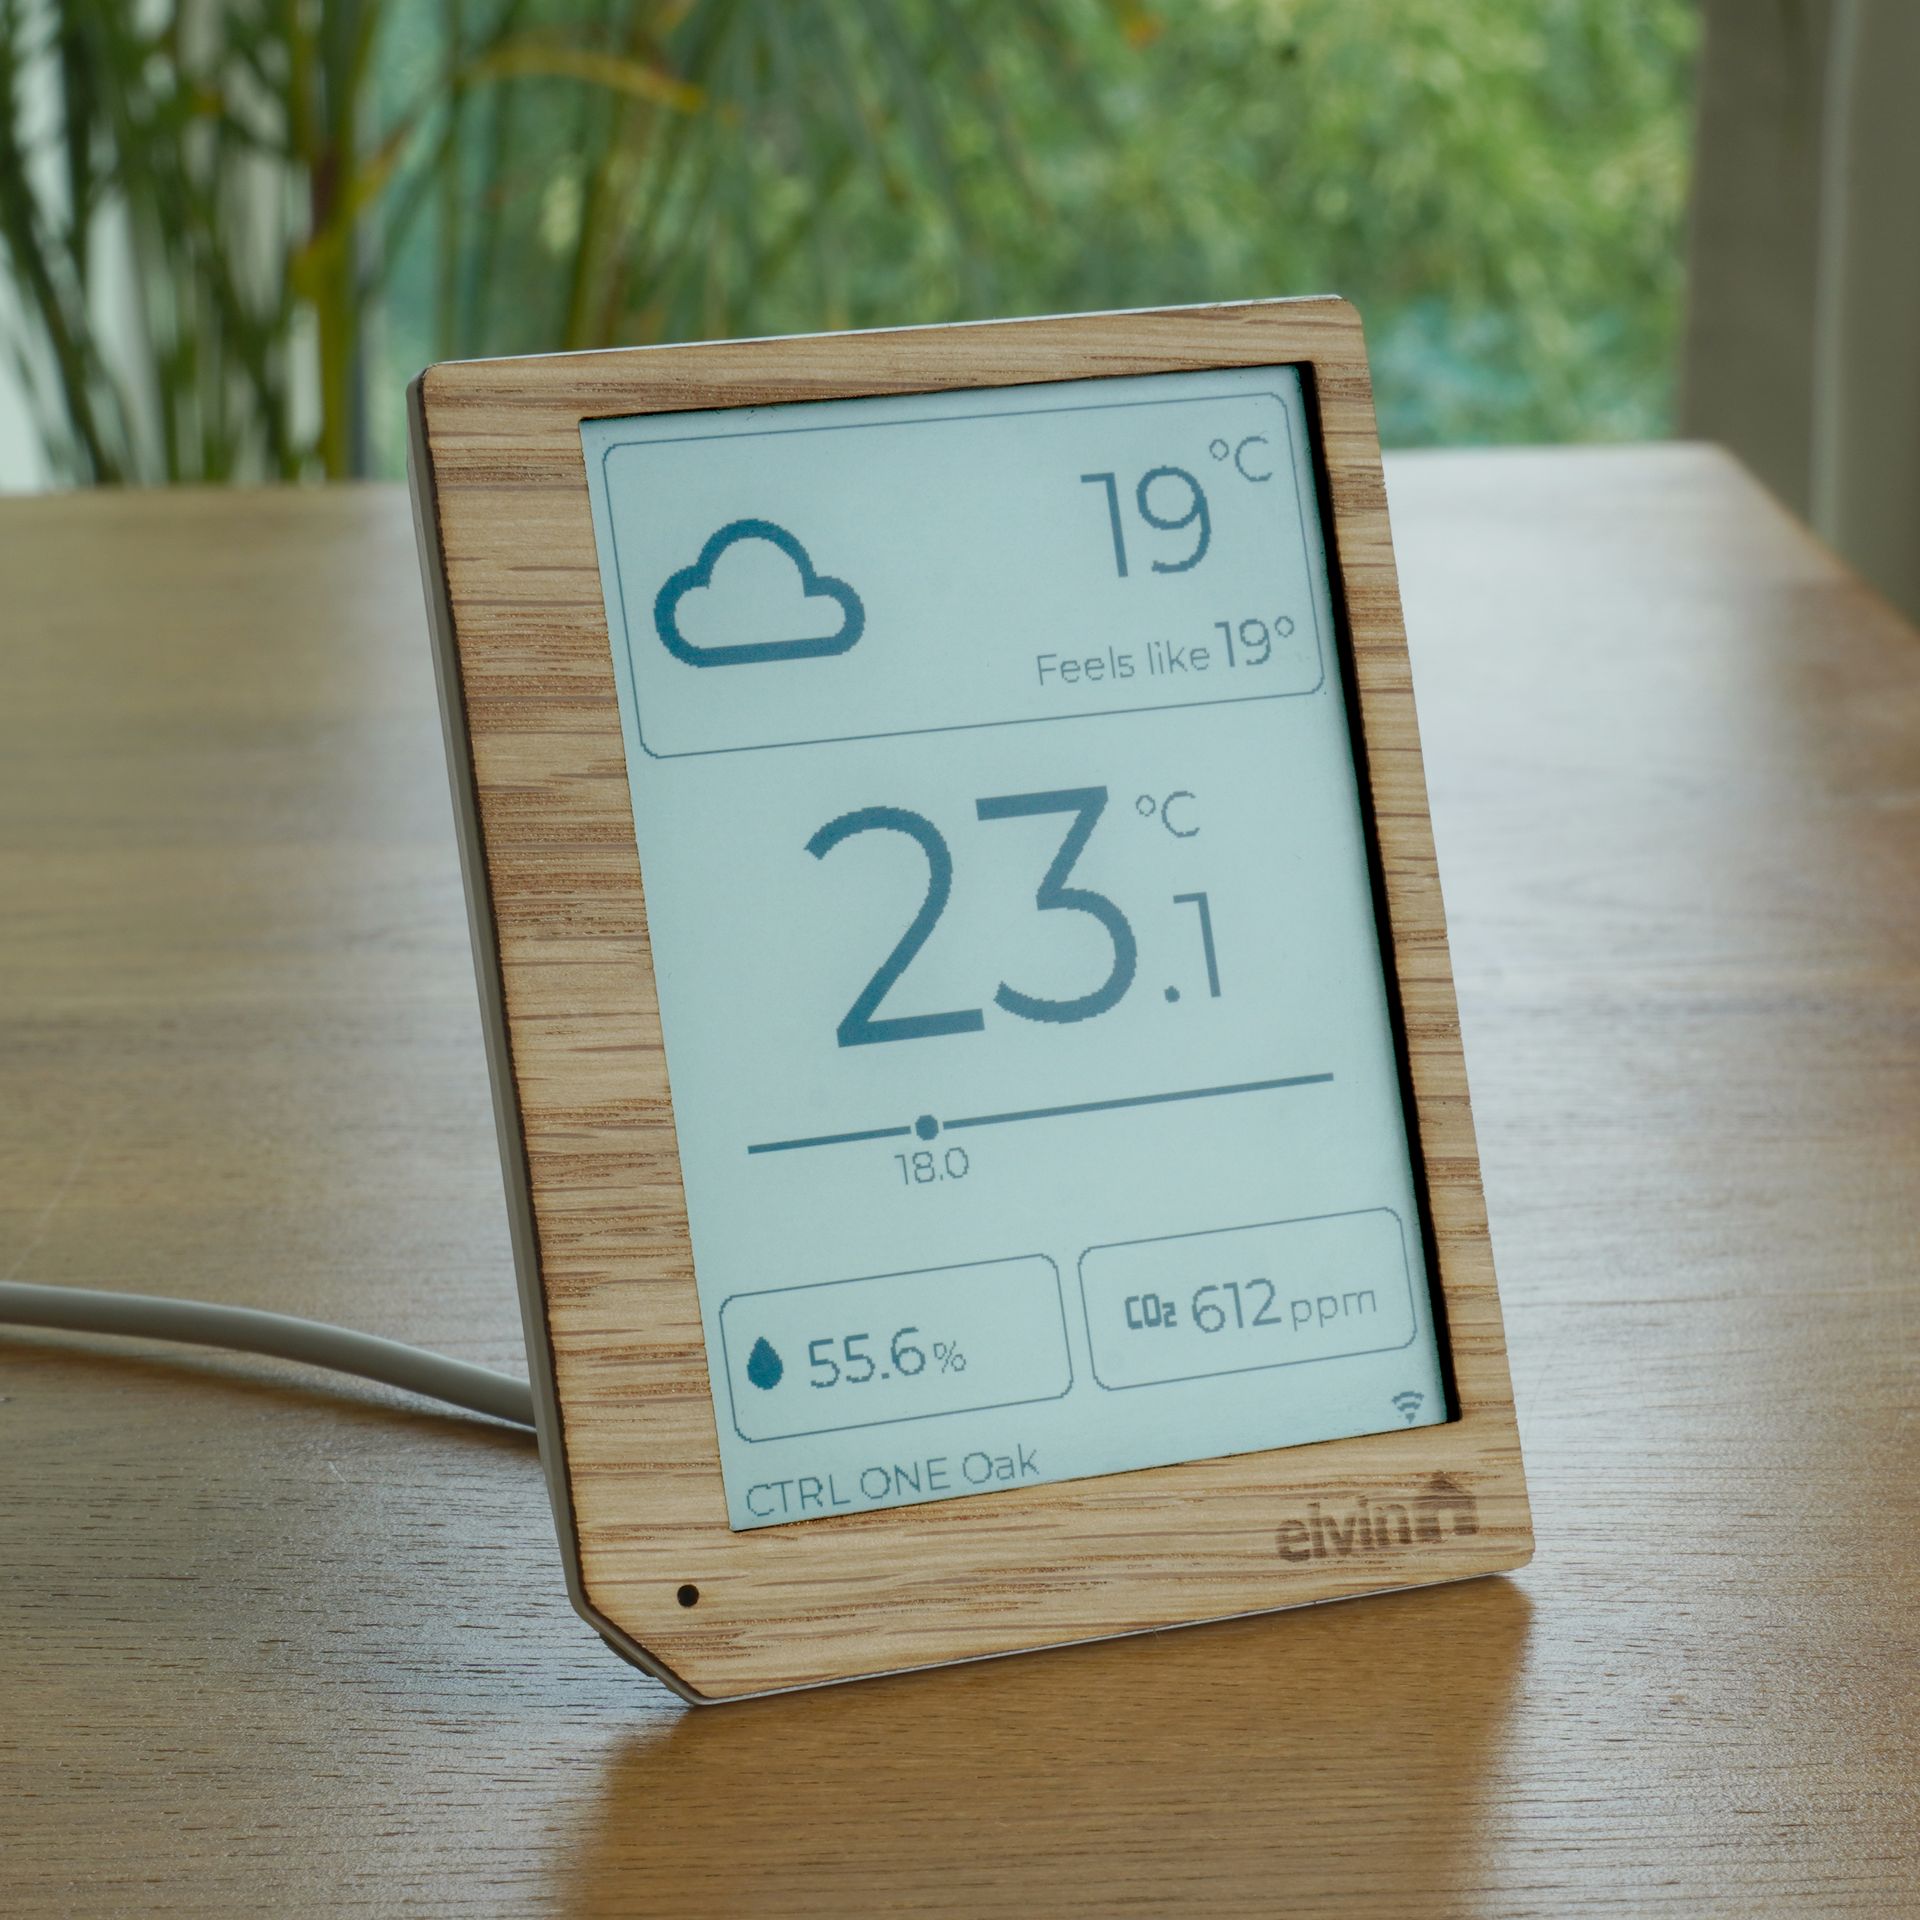
It's called the CTRL ONE. It's a smart room controller with a 4.2" ePaper display, touchscreen, air quality and thermostat support. Using the onboard SCD40 sensor, it can measure temperature, humidity and CO2. And best of all, it runs 100% ESPHome - I've been contributing PRs over the last few months to make this display work perfectly.
It's called a room controller because through the add-on & widget system, it can manage many aspects of the room you place it in. Out of the box it's a simple air quality monitor, but through adding widgets it can expose data from Home Assistant, like the outside weather as I've got in the example above. You can also place buttons and sliders to control things like lights, blinds and ventilation systems.
The main reason I started this journey was that I really really didn't like my basic builder's grade thermostat. Adding the 24VAC thermostat add-on to the back and mounting it to a wall makes it a fully featured smart thermostat, that can do much more than just measure temperature.
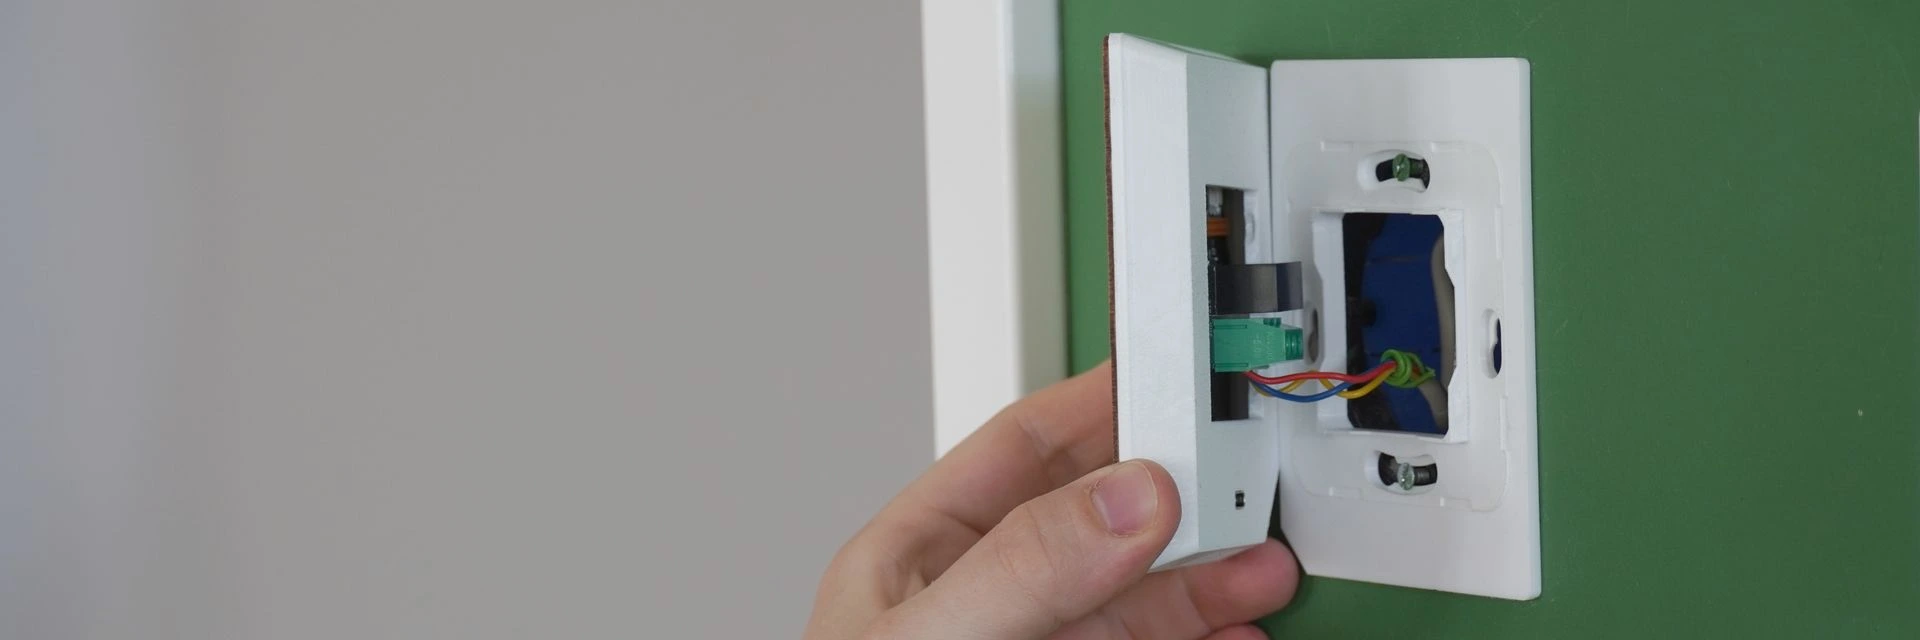
That's the end of the sales pitch. You can find it here:
Check out the CTRL ONE
Here's one of my first (non-functional) prototypes. I had an old busted up ePaper display that was about the size I wanted it to be, just to get a bit of the shape and feel.
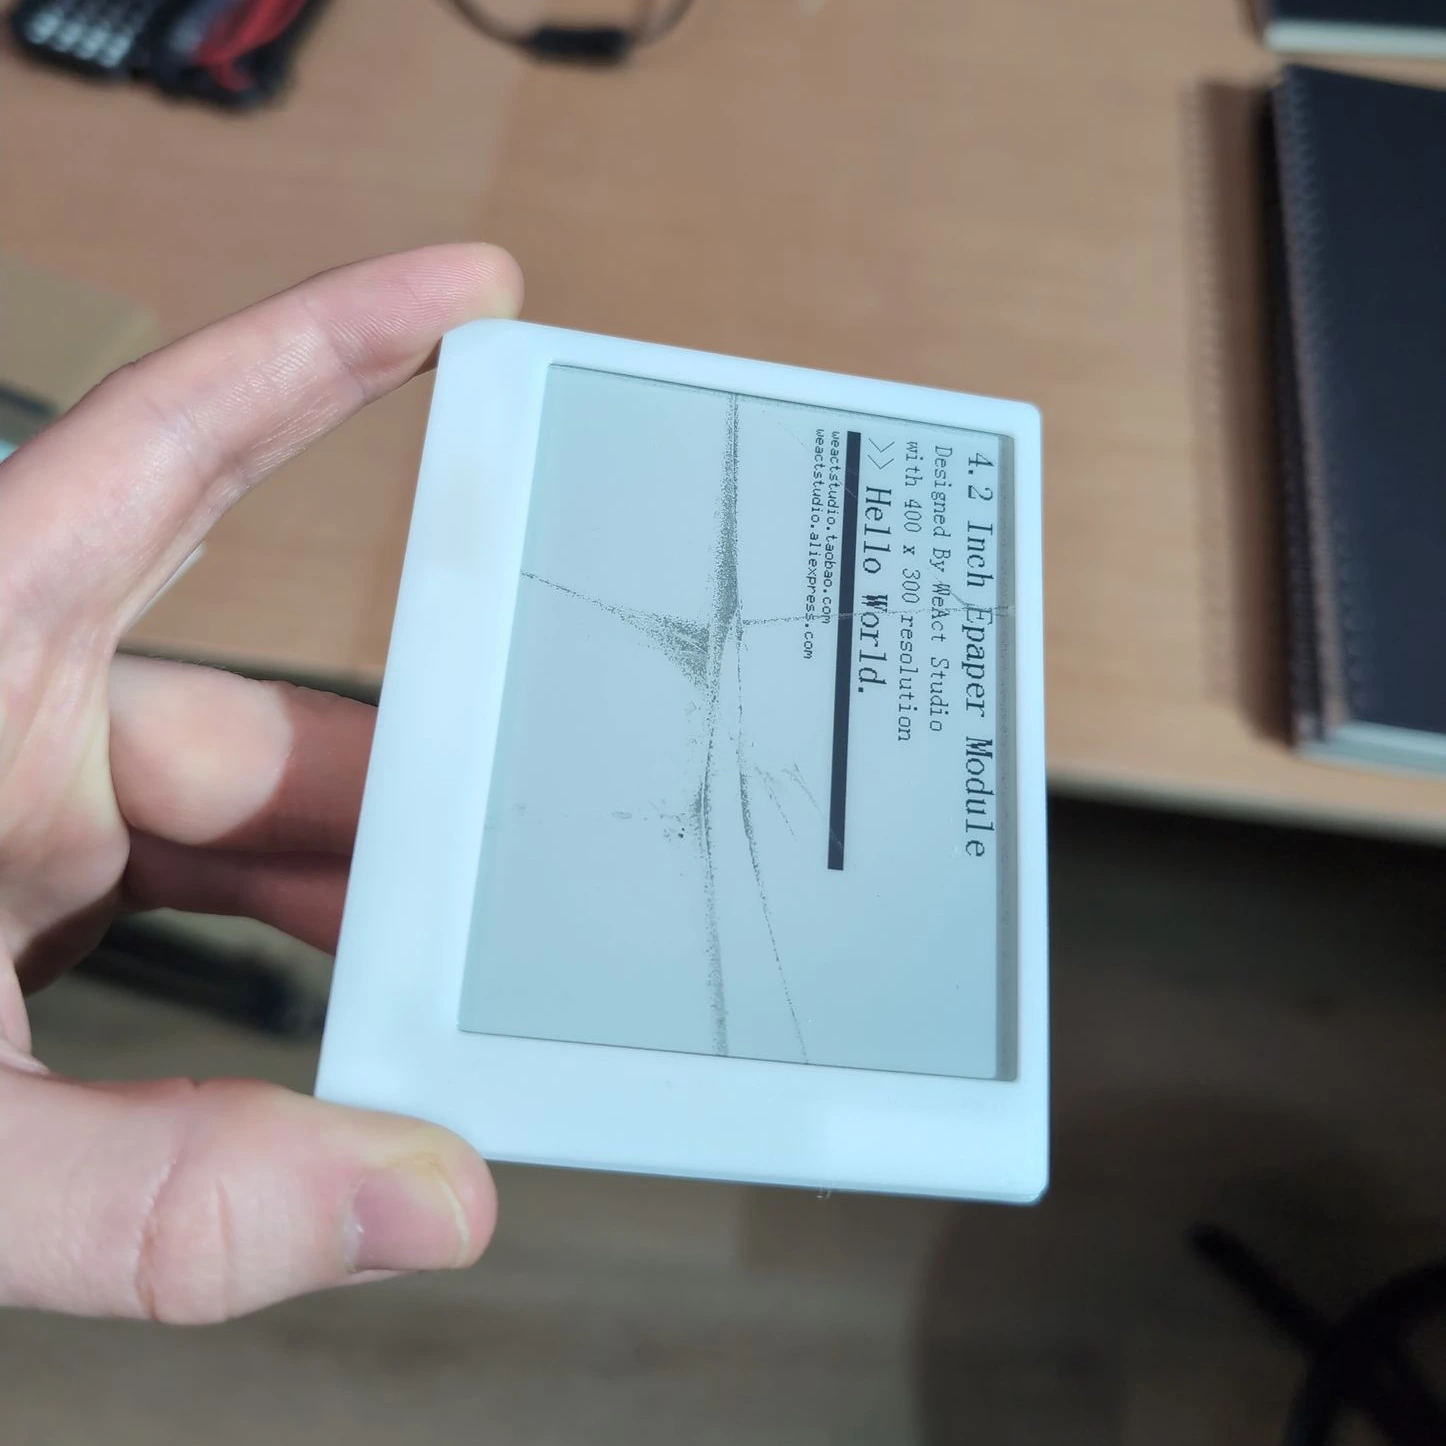
At this time the PCB was a 3D-printed approximation just so I knew what size to make it. The corner cut-out was added later. The shape and bezels of the device are a result of the constraints of the display, which you can see clearly with the bezel taken off:
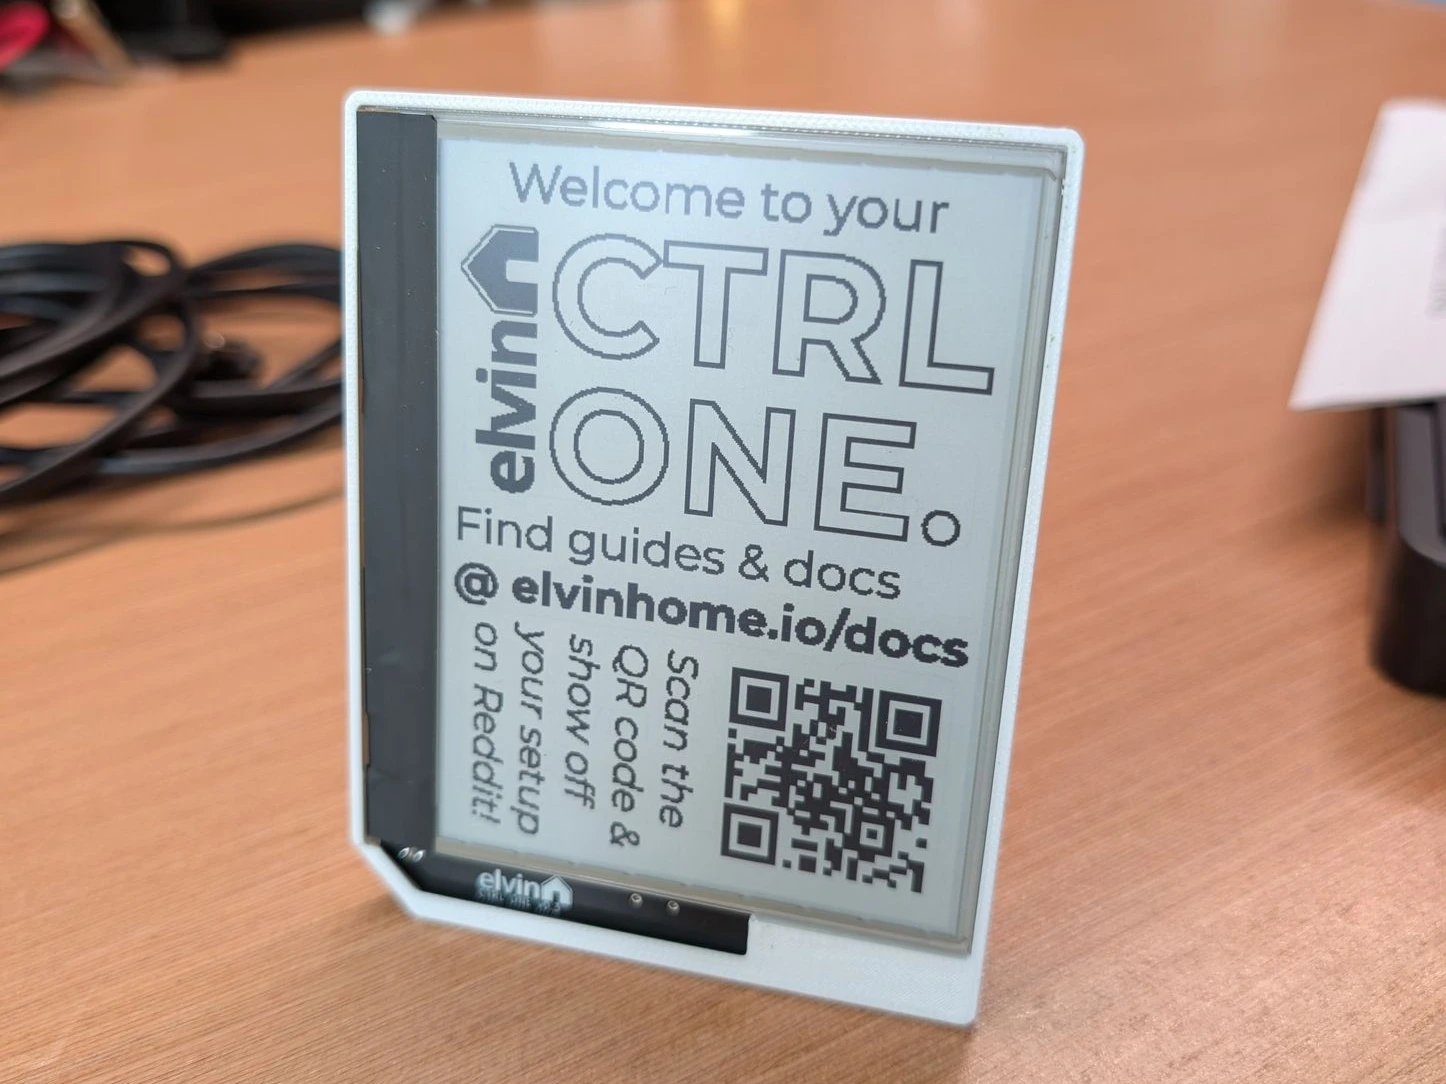
ePaper displays have come a long way but some still have much larger "chins" than others. But there's not many options out there for displays that come with a touchscreen and a light - did I mention it has a light? It also has an ambient light sensor so it knows to light up the display in the dark.
The corner cut-out in the bottom left also came later. It was partly an aesthetic choice, but I'm curious to see what you think. Corner cut-out or no cut-out?
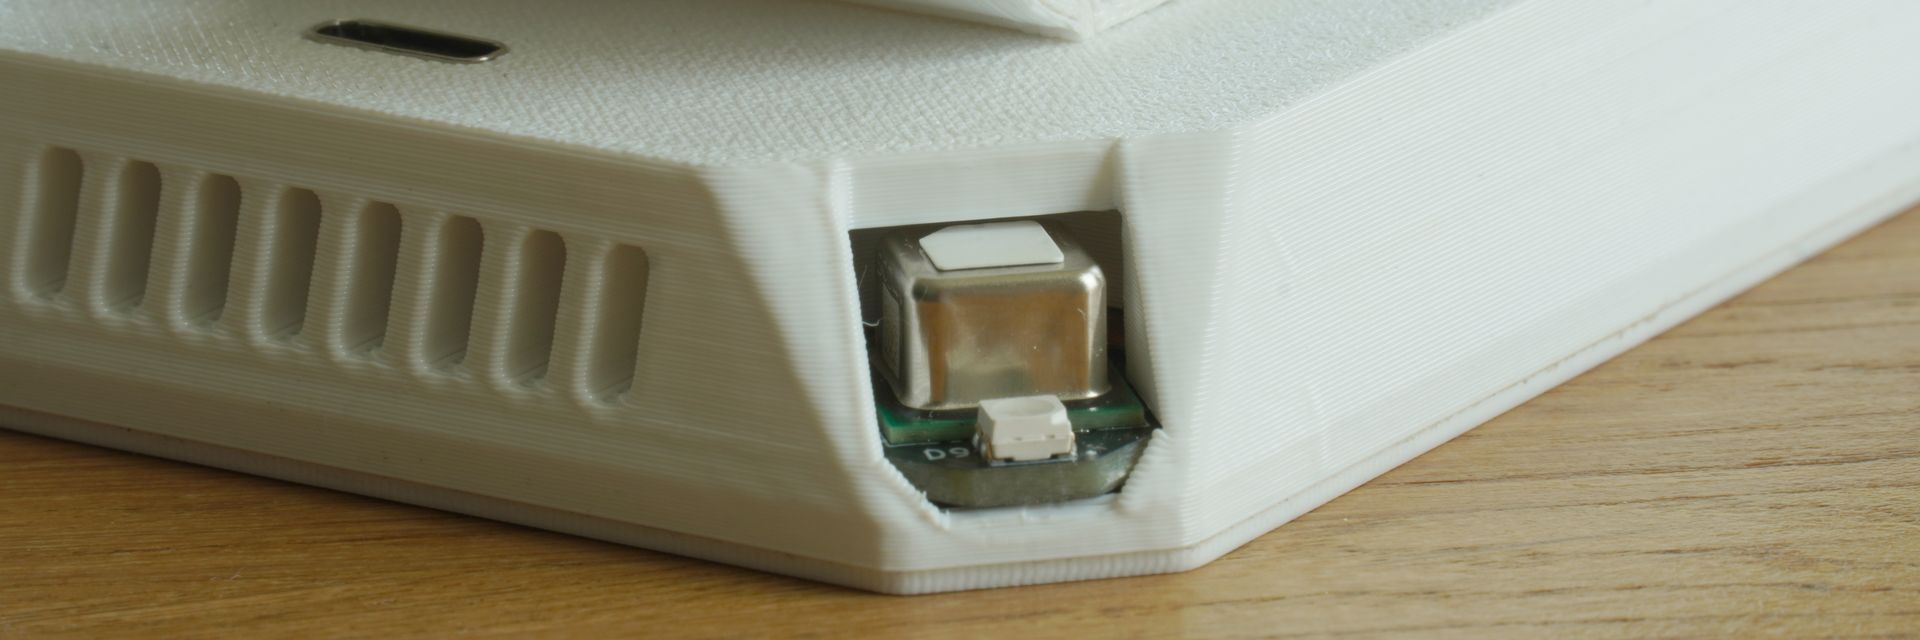
It's also a functional choice. The biggest engineering challenge was dealing with heat. ESP32s can generate enough heat running at full tilt to throw off temperature readings a little. Unlike plenty of other ePaper dashboards you've seen on this subreddit, it's an interactive device due to the touchscreen. The interface is entirely rendered on-device. No fetching pre-rendered images from a server. It continues to work fully offline, showing data from its own sensors, and managing your heating system if it has the thermostat add-on installed.
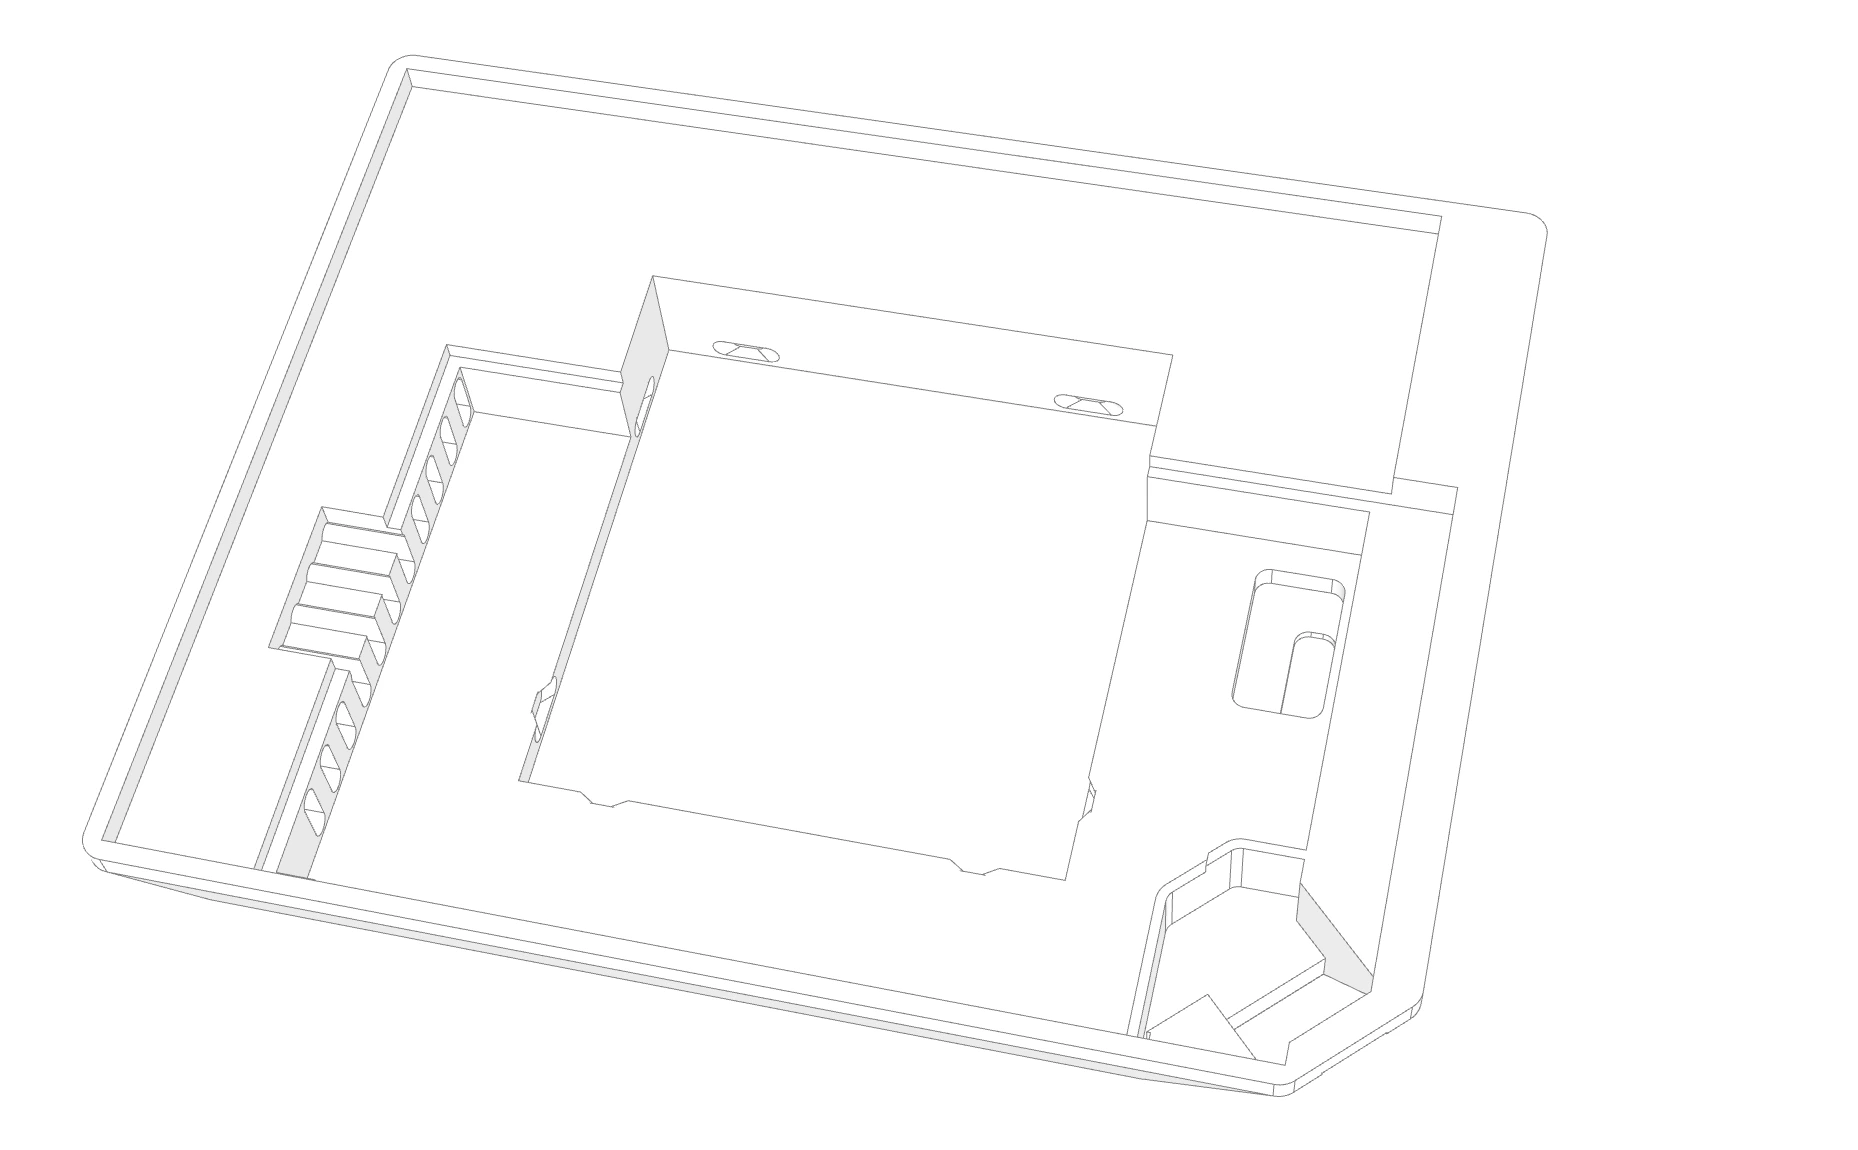
Here's what it looks like through a render of the enclosure. By placing the SCD40 sensor in the corner, with a partitioning wall on the inside of the casing, it gives it maximum exposure to the outside air, while having physical separation from the rest of the internals. The ESP32 and power management is placed entirely on the opposite side of the board. Having it tucked behind of the bezel keeps it out of direct sunlight, as well as your own vision. You'll only see it if you peek around the back.
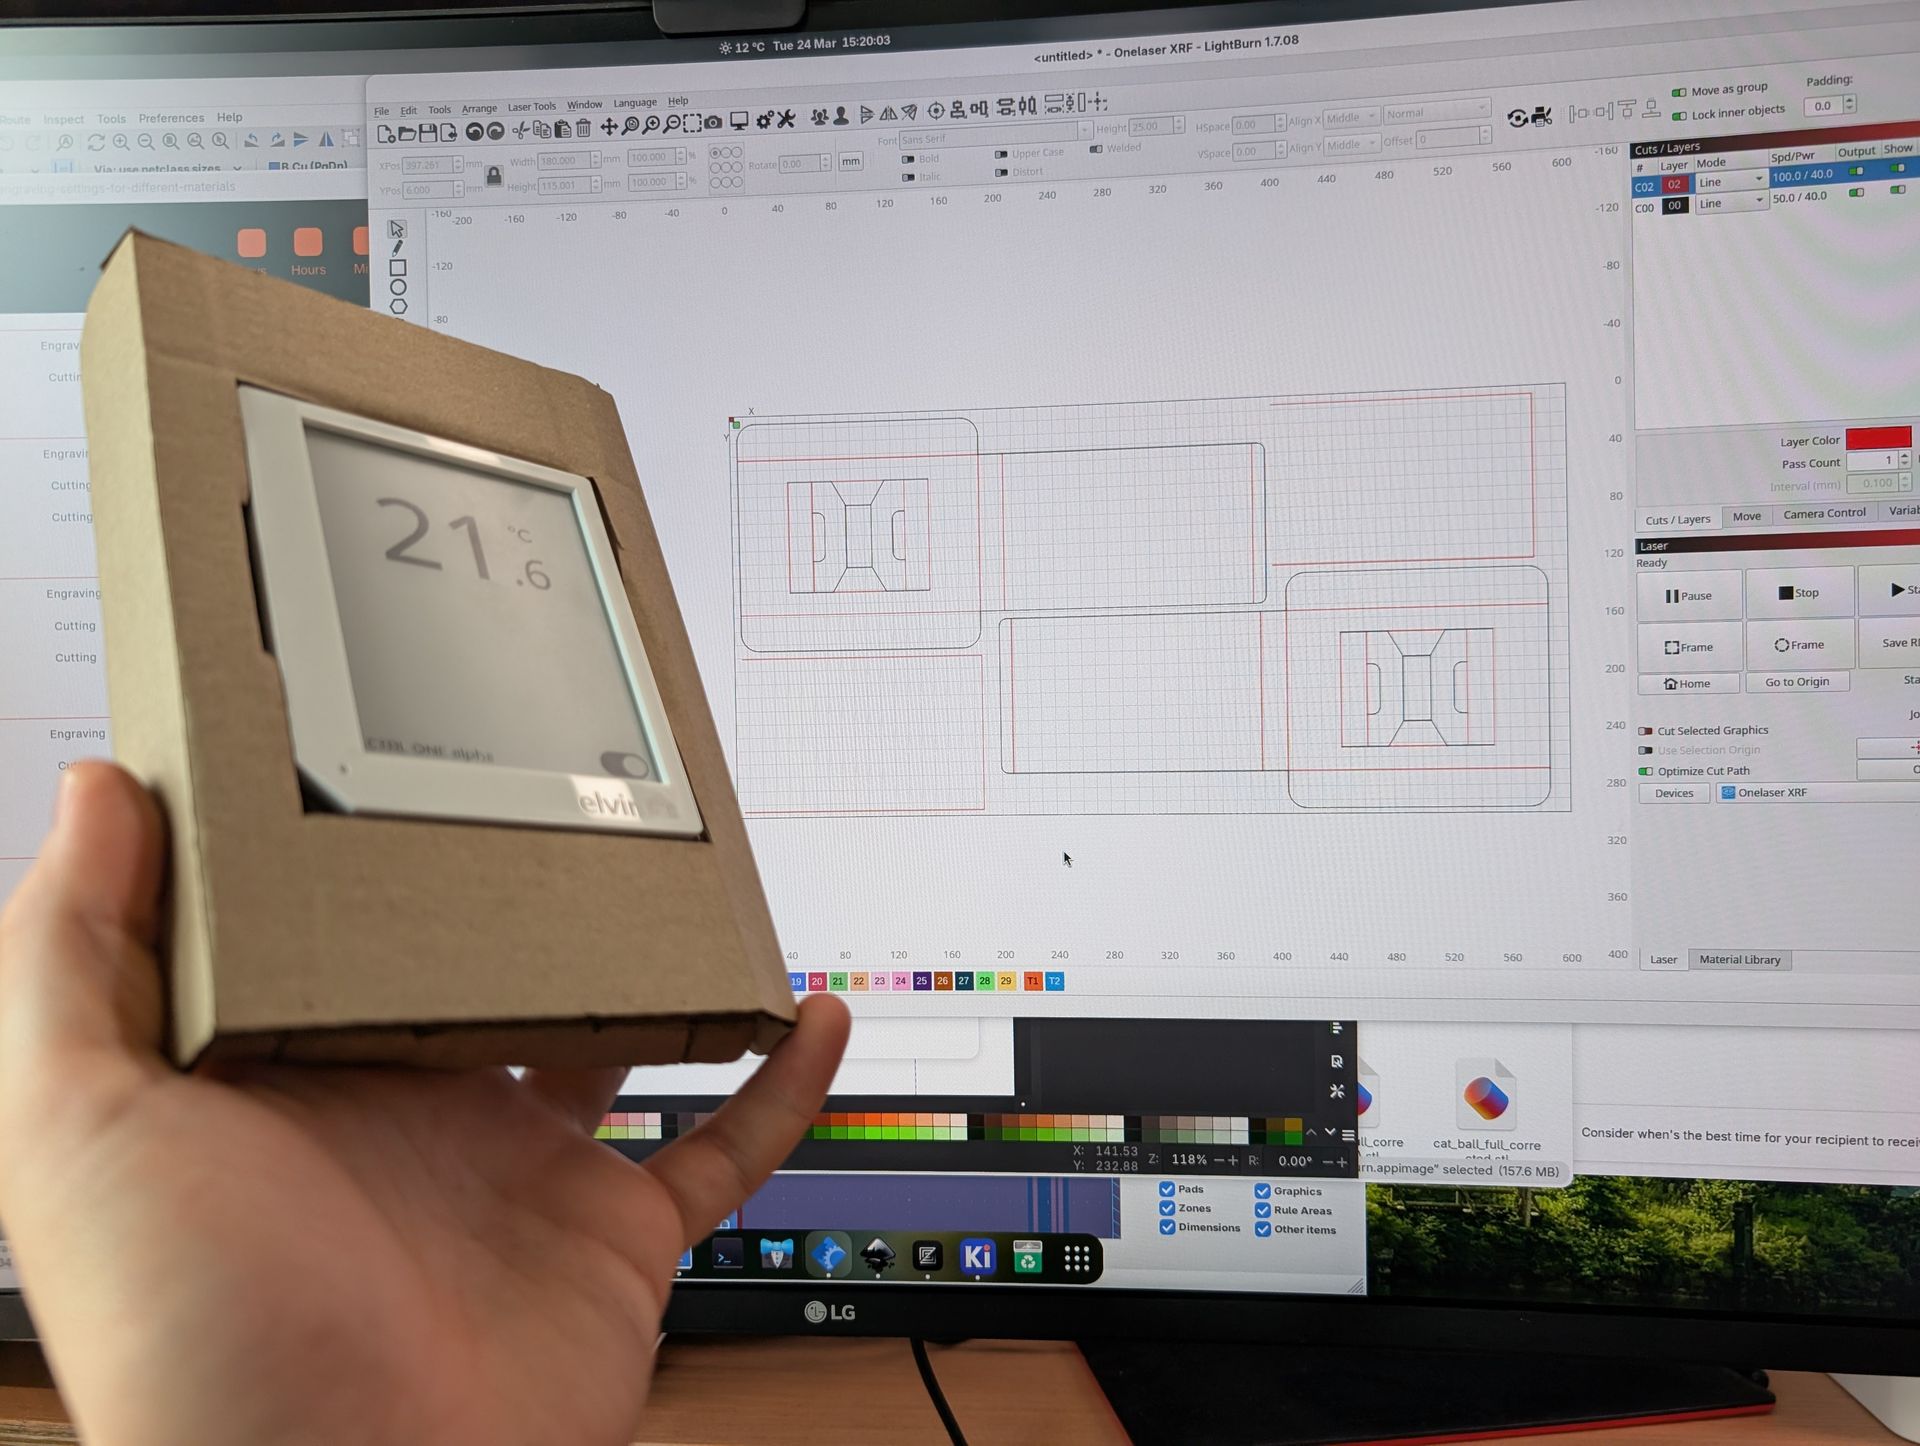
Everything up until now has been all things that I'd have to consider for any project in my blogs or videos, but since it's something for sale, there's so many other things to consider too! Key one being packaging. Using my laser cutter I mocked up a design to create a cardboard insert, which then goes into a standard letterbox-sized carton. I wanted the least packaging possible and also for it to be fully recyclable, so it's 100% cardboard (no glue) and it goes in the mail straight in the product box it comes in.
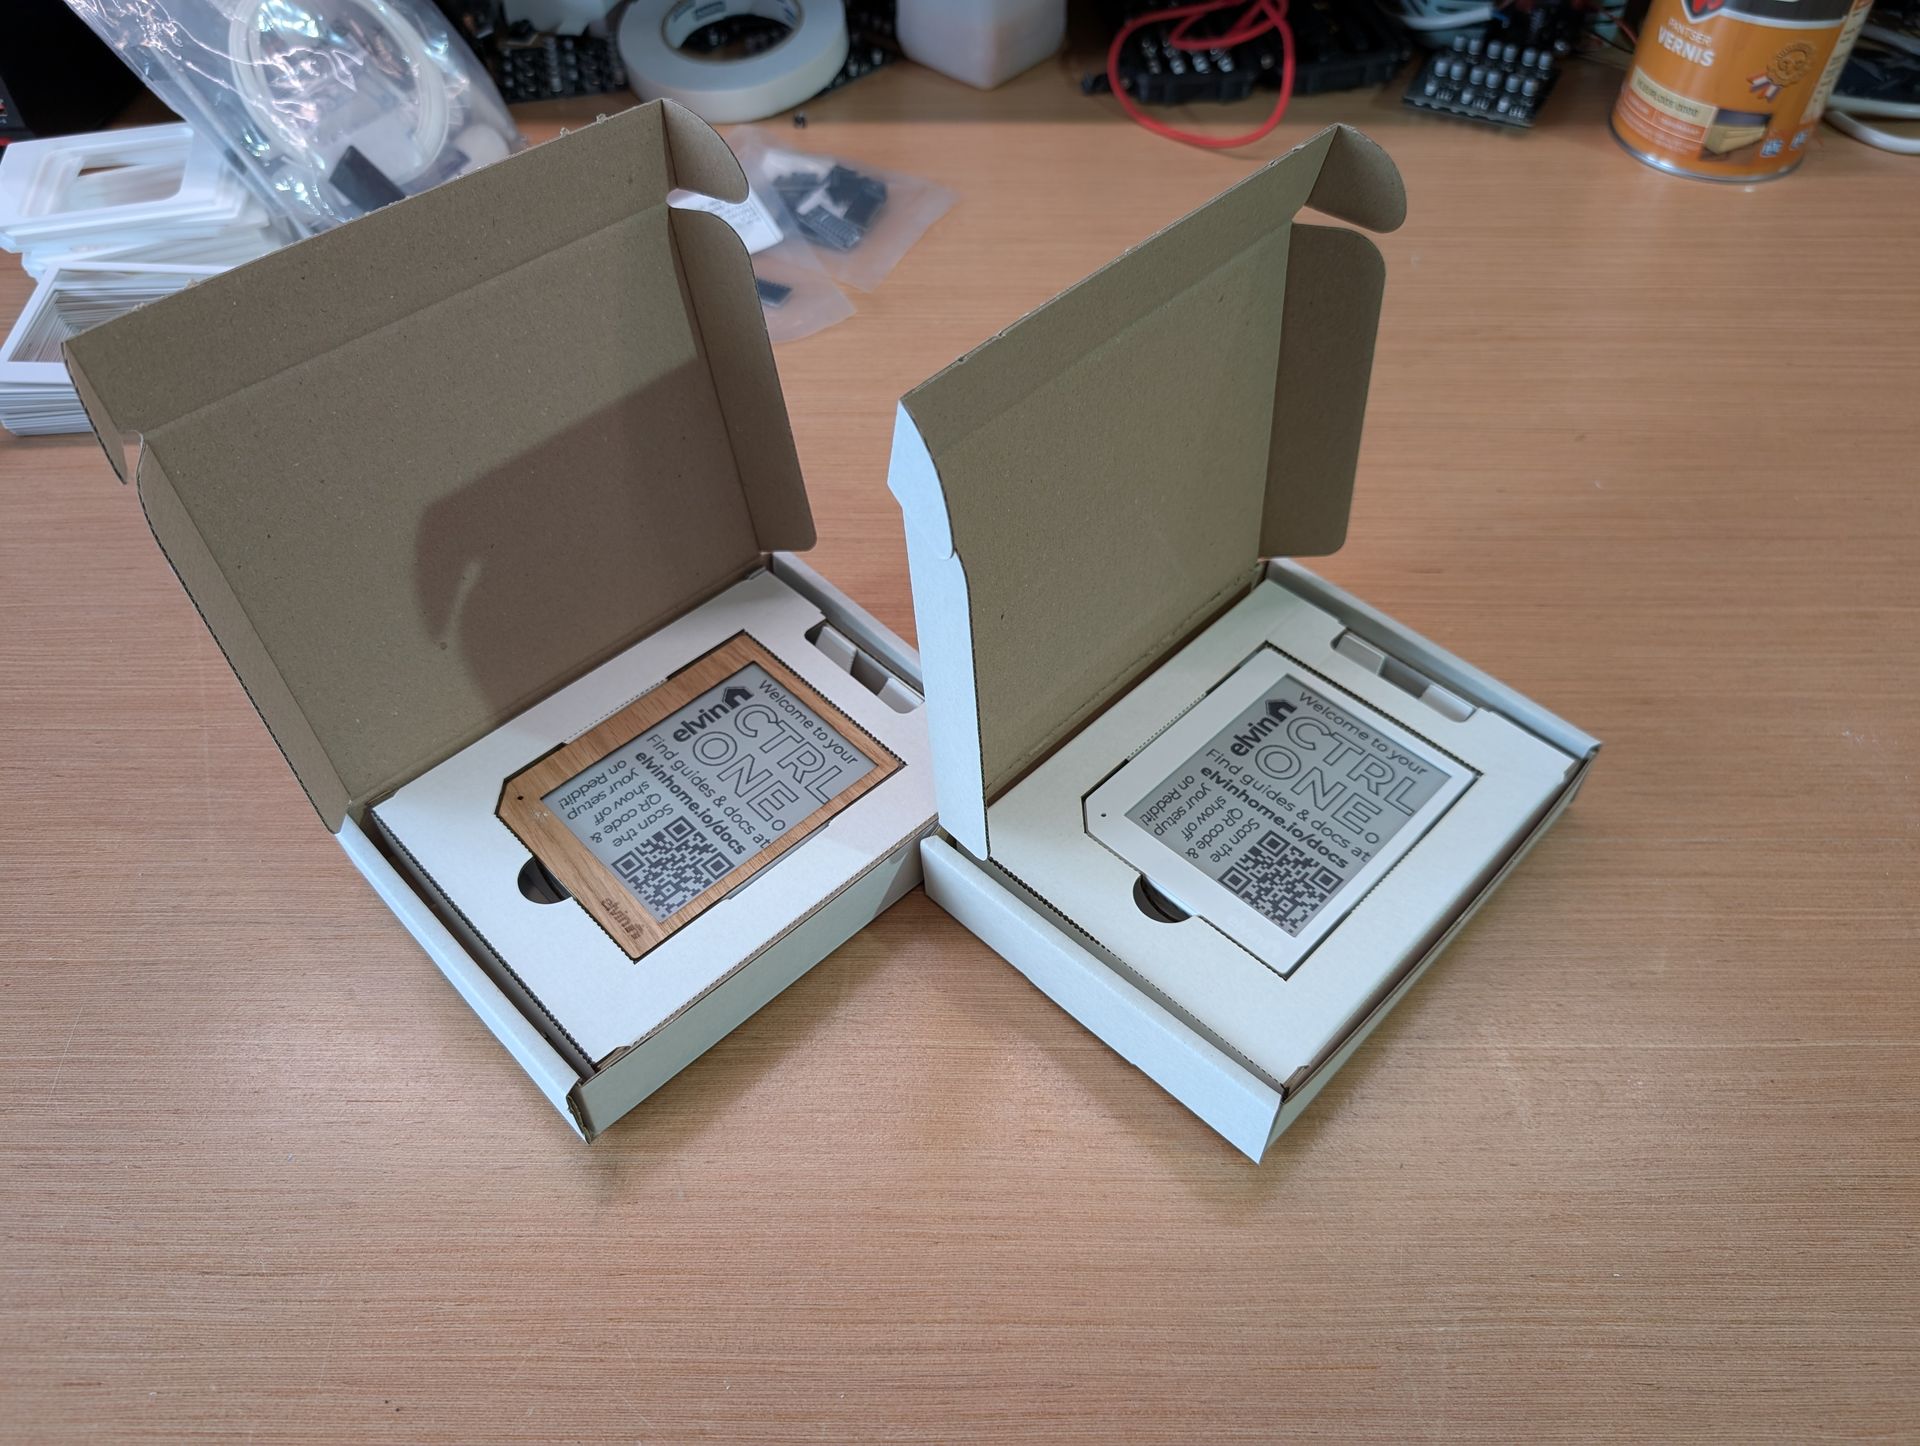
I'm actually still using laser cut cardboard in my final packaging! Especially in the beginning when I'm not sure how this will go (with your support, hopefully well) it's actually a super cost-effective way while I'm dealing with low quantities. It does produce a slight charred wood smell though, so I definitely plan to find a vendor to make them in the future.
I'll be sharing more about how I made it on my blog over the coming weeks, come take a look if you're interested! And I've got plenty more projects I do on the side if you're looking for some inspiration in your own home.